Building Your First baseweb App
The following walkthrough starts from literally nothing and shows every step to get to the standard demo app, as can be found in https://github.com/christophevg/baseweb-demo.
Well, nothing is maybe too little. I assume you have access to a computer with a command line, python and ideally some virtual environment manager. Oh, and in all honesty, you might also want a browser ;-)
Setup an environment
This is optional, still very much advised: prepare a suitable execution environment, with your favorite virtual environment runner - uv is recommended:
% mkdir my-app
% cd my-app
% uv init
Getting baseweb
% uv add baseweb gunicorn uvicorn
This is enough to install baseweb with its dependencies. Let’s meet baseweb…
Hello baseweb
You can simply run baseweb from your app folder:
% uv run gunicorn -w 1 -k uvicorn.workers.UvicornWorker "baseweb:server._asgi_app"
[2026-05-04 12:40:24 +0200] [68179] [INFO] Starting gunicorn 21.0.0
[2026-05-04 12:40:24 +0200] [68179] [INFO] Listening at: http://127.0.0.1:8000 (68179)
[2026-05-04 12:40:24 +0200] [68179] [INFO] Using worker: uvicorn.workers.UvicornWorker
[2026-05-04 12:40:24 +0200] [68182] [INFO] Booting worker with pid: 68182
And visit http://localhost:8000…
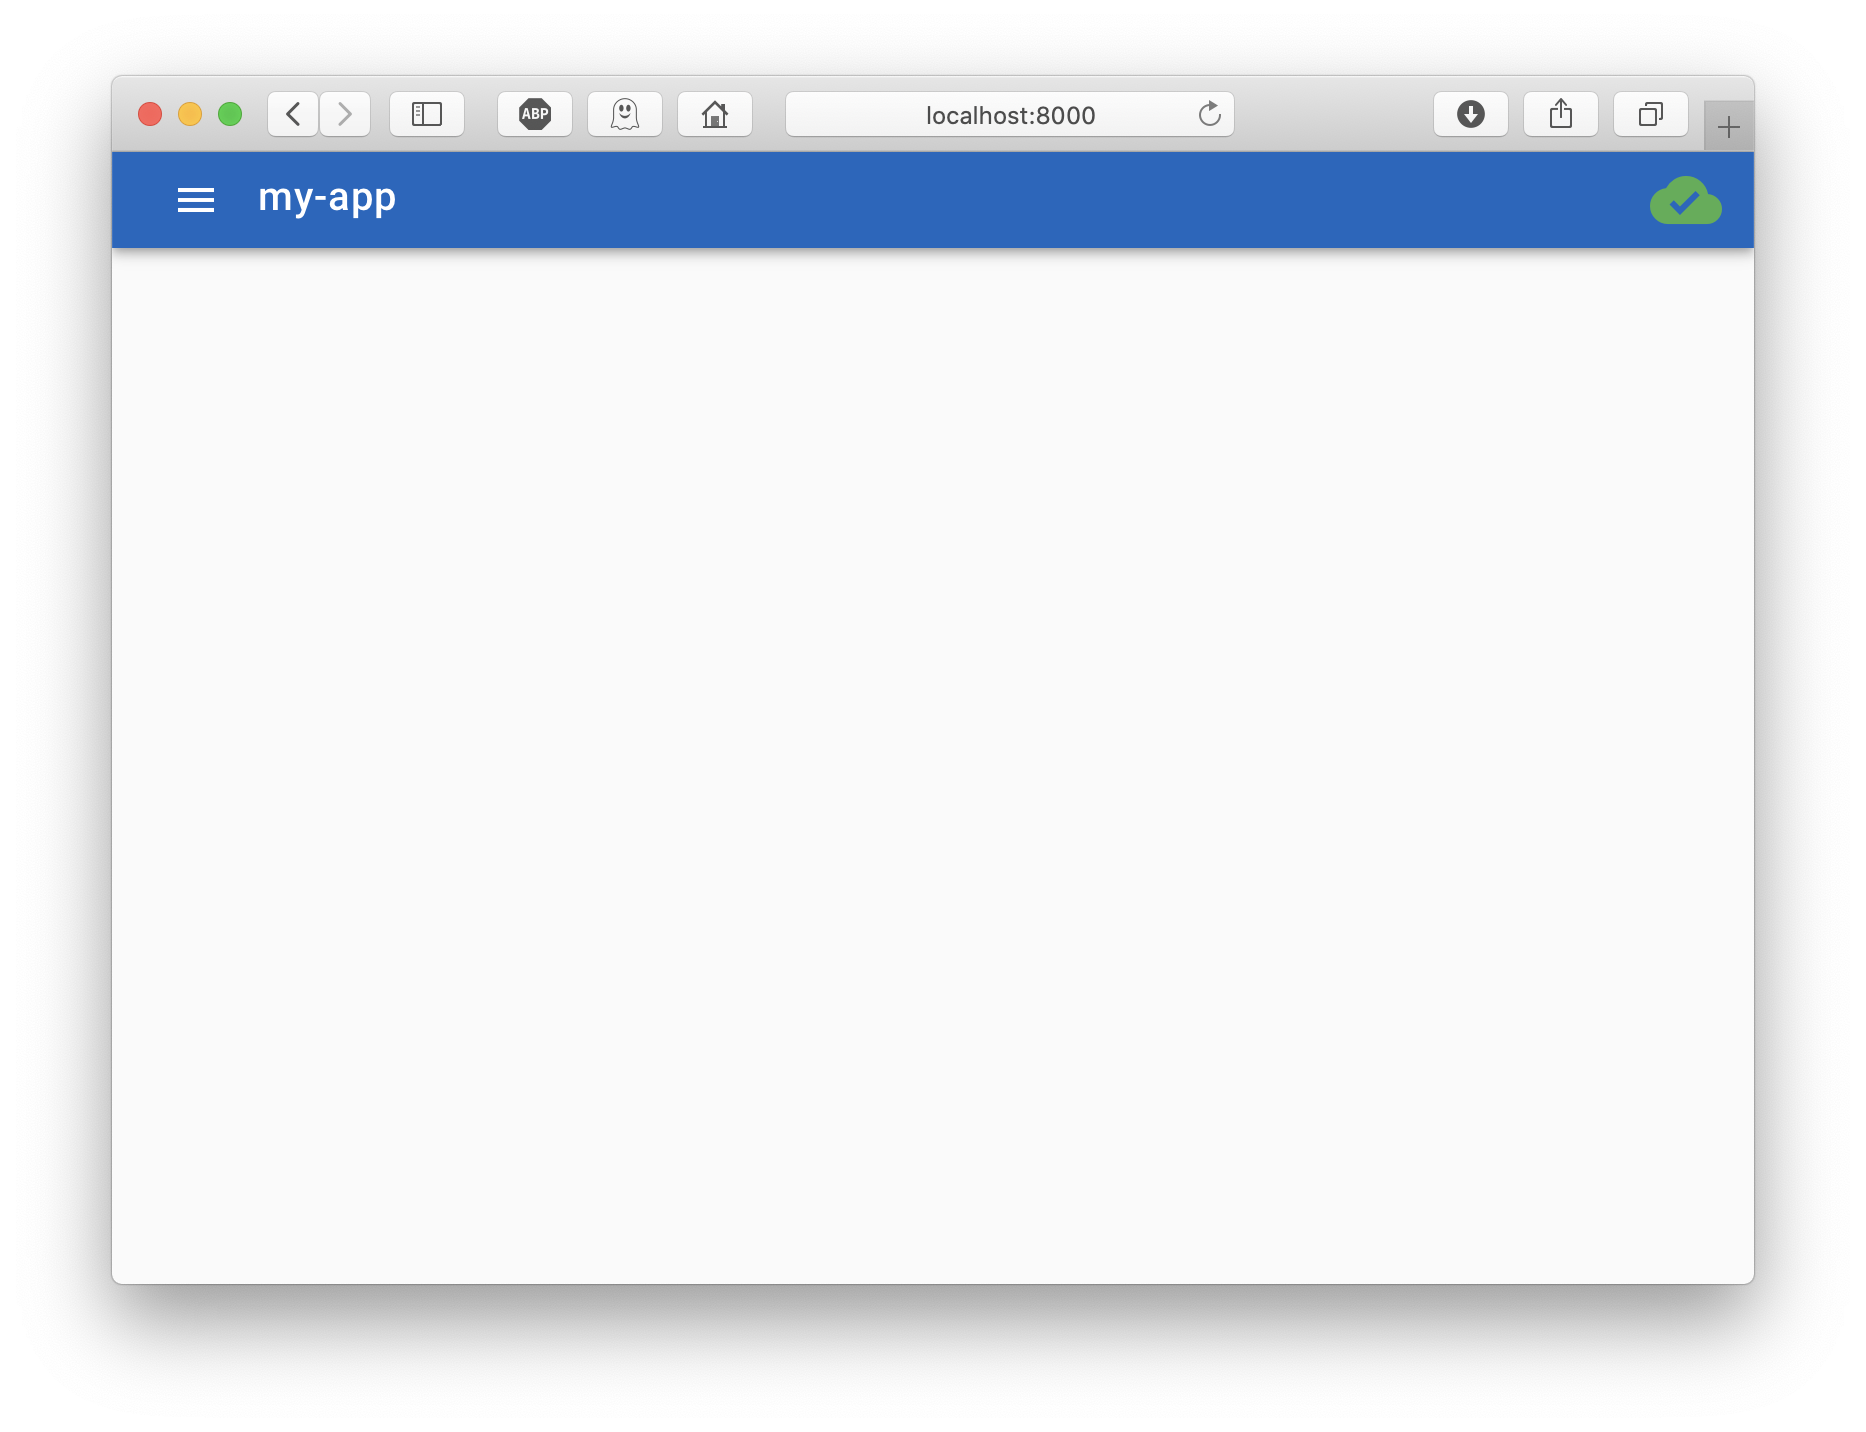
Notice that baseweb has take the name of your app folder and uses that as the name for the application. That is in fact a fall-back in case the name isn’t provided as an environment variable. Try starting baseweb using the following command:
% APP_NAME=hello uv run gunicorn -w 1 -k uvicorn.workers.UvicornWorker "baseweb:server._asgi_app"

Hello myapp
Although there is already a lot in your current browser window to talk about, running baseweb in this ‘naked’ form, results in pretty much an empty frame. Let’s build our actual app on top of “baseweb as a Python module”.
Create a file, hello.py:
import os

from baseweb import server

server.register_component("hello.js", os.path.dirname(__file__))

# ASGI entry point
asgi_app = server._asgi_app
And also create a Javascript file, hello.js:
var Hello = {
  template : `
<div>
  <h1>Hello baseweb</h1>
</div>
  `,
  navigation: {
    section: null,
    icon: "home",
    text: "Hello",
    path: "/",
    index: 1
  }
};

Navigation.add(Hello);
Now run your own baseweb app:
% uv run gunicorn -w 1 -k uvicorn.workers.UvicornWorker "hello:asgi_app"
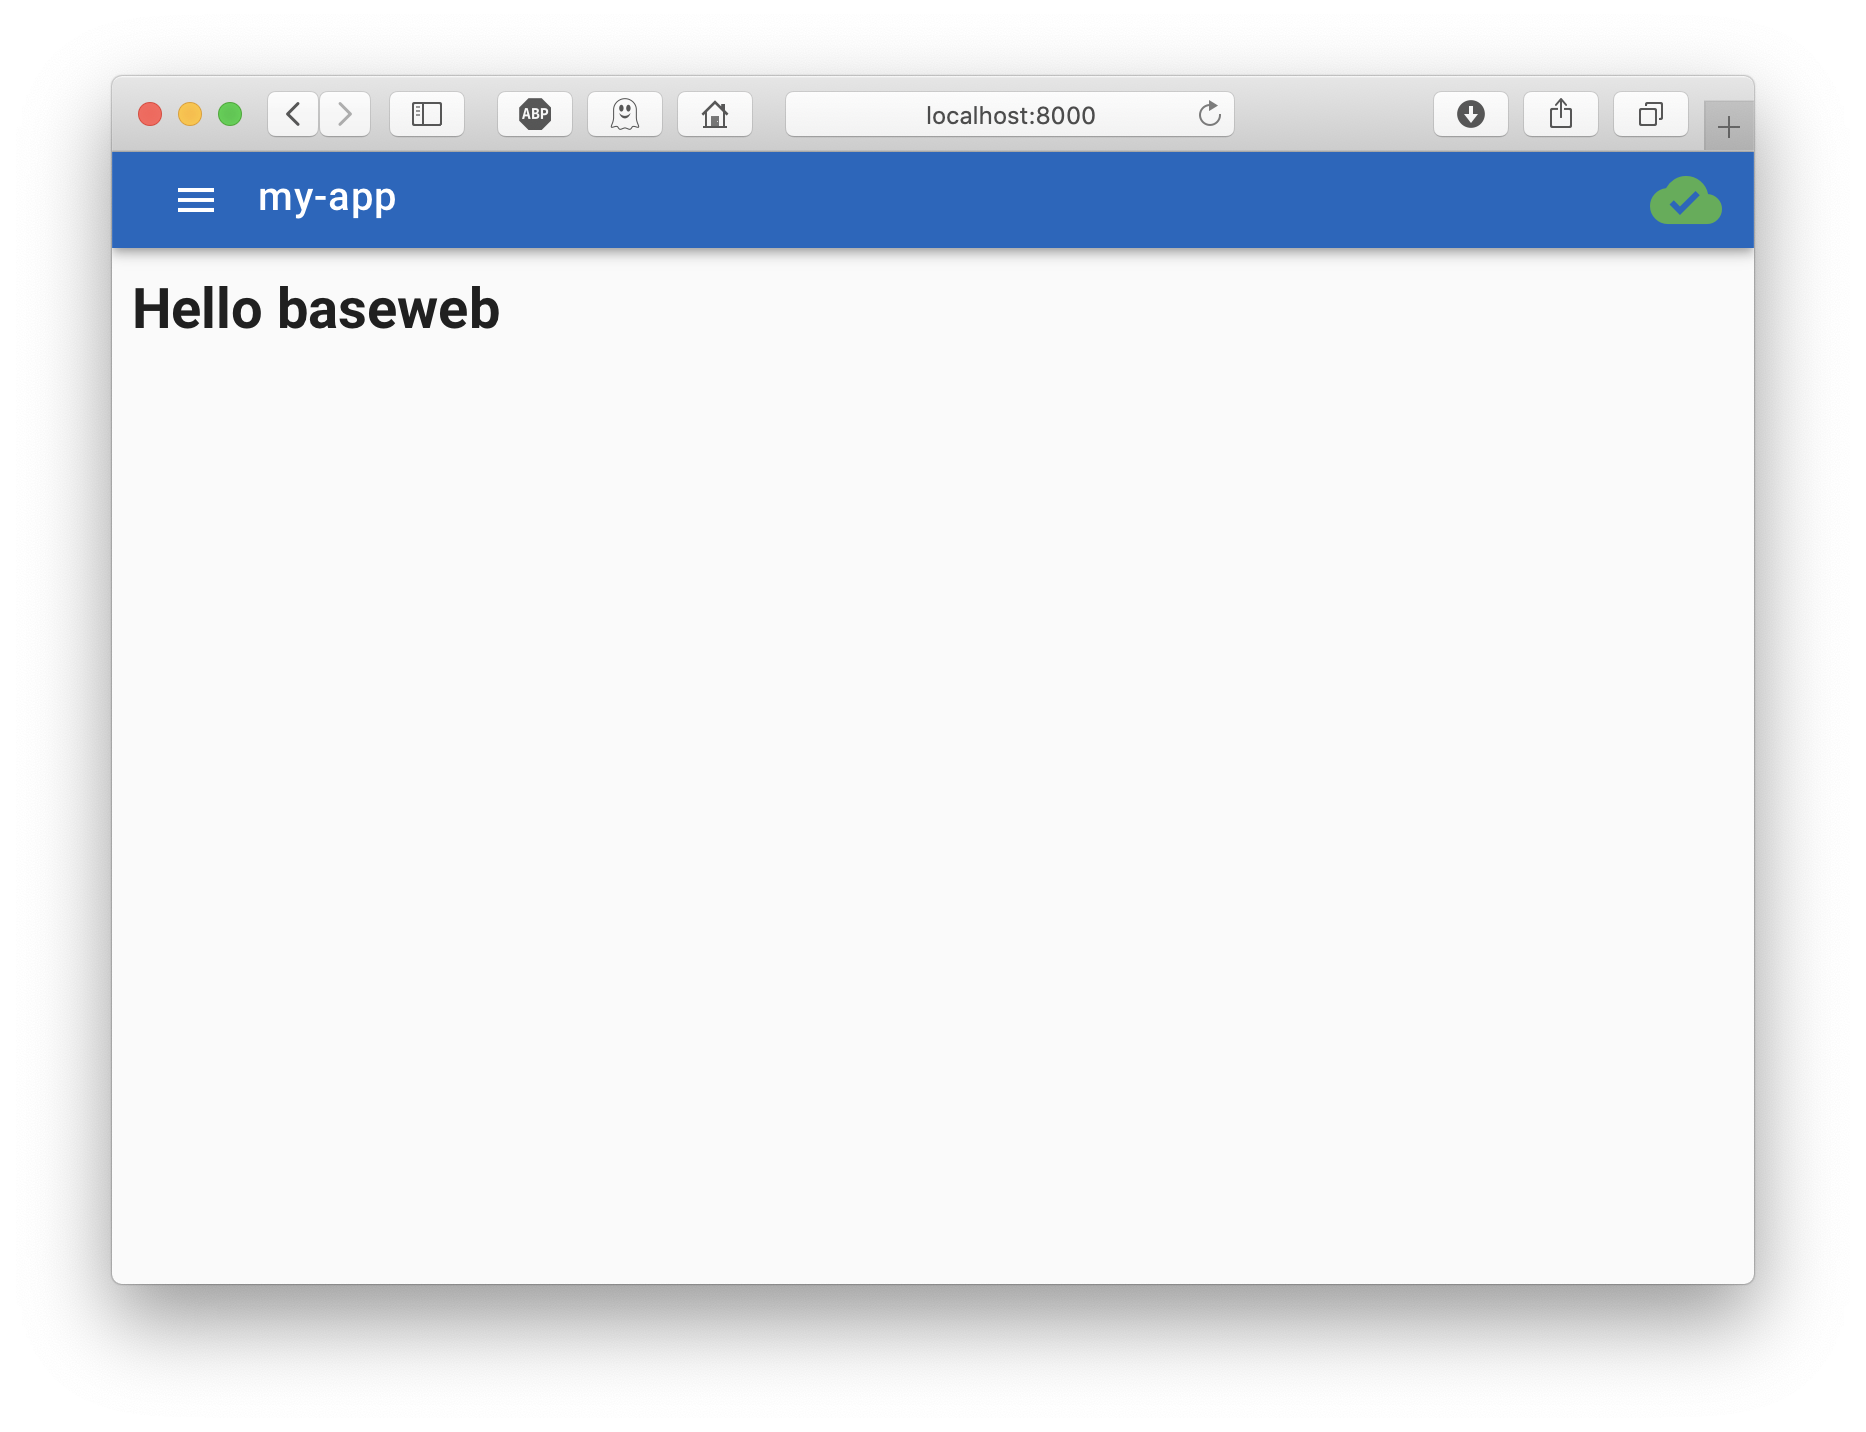
So what did you just do? You created a Vue.js component (Hello), registered it with baseweb, which hosts it in its, previously empty, Vuetify-enabled frame, and shows it when the ‘route’ points to the ‘root’.
There is a lot to discover and do with Vue.js. Baseweb leverages this enormous amount of power by wrapping a lot of the boilerplate in a way that it can be structured from Python. From there on, its mostly Vue.js magic for you to explore ;-)
Hello <insert your name here>
Now, extend your hello.py with
# set up a REST resource to handle hello requests from the UI

from baseweb import server, Resource
from quart import request

class Hello(Resource):
  async def get(self):
    name = request.args["name"]
    return f"Hello {name}"

server.add_resource(Hello, "/api/hello")
and update your hello.js to look like this:
var Hello = {
  template : `
<div>
  <h1>Hello baseweb</h1>
  <vue-form-generator ref="vfg" :schema="schema" :model="model"></vue-form-generator>
  <v-btn @click="send_get()" class="primary">say hello</v-btn>
</div>
  `,
  navigation: {
    section: null,
    icon: "home",
    text: "Hello",
    path: "/",
    index: 1
  },
  methods: {
    send_get: function() {
      $.get( "/api/hello", { "name" : this.model.name }, function( response ) {
        app.$notify({
          group: "notifications",
          title: "Response...",
          text:  response,
          type:  "success",
          duration: 10000
        });
      });
    }
  },
  data: function() {
    return {
      model: {
        name: ""
      },
      schema: {
        fields: [
          {
            type: "input",
            inputType: "text",
            label: "Name",
            model: "name",
            placeholder: "Your name",
            validator: VueFormGenerator.validators.string
          }
        ]
      }
    }
  }
};

Navigation.add(Hello);
Run it again and now enter your name and this the button…
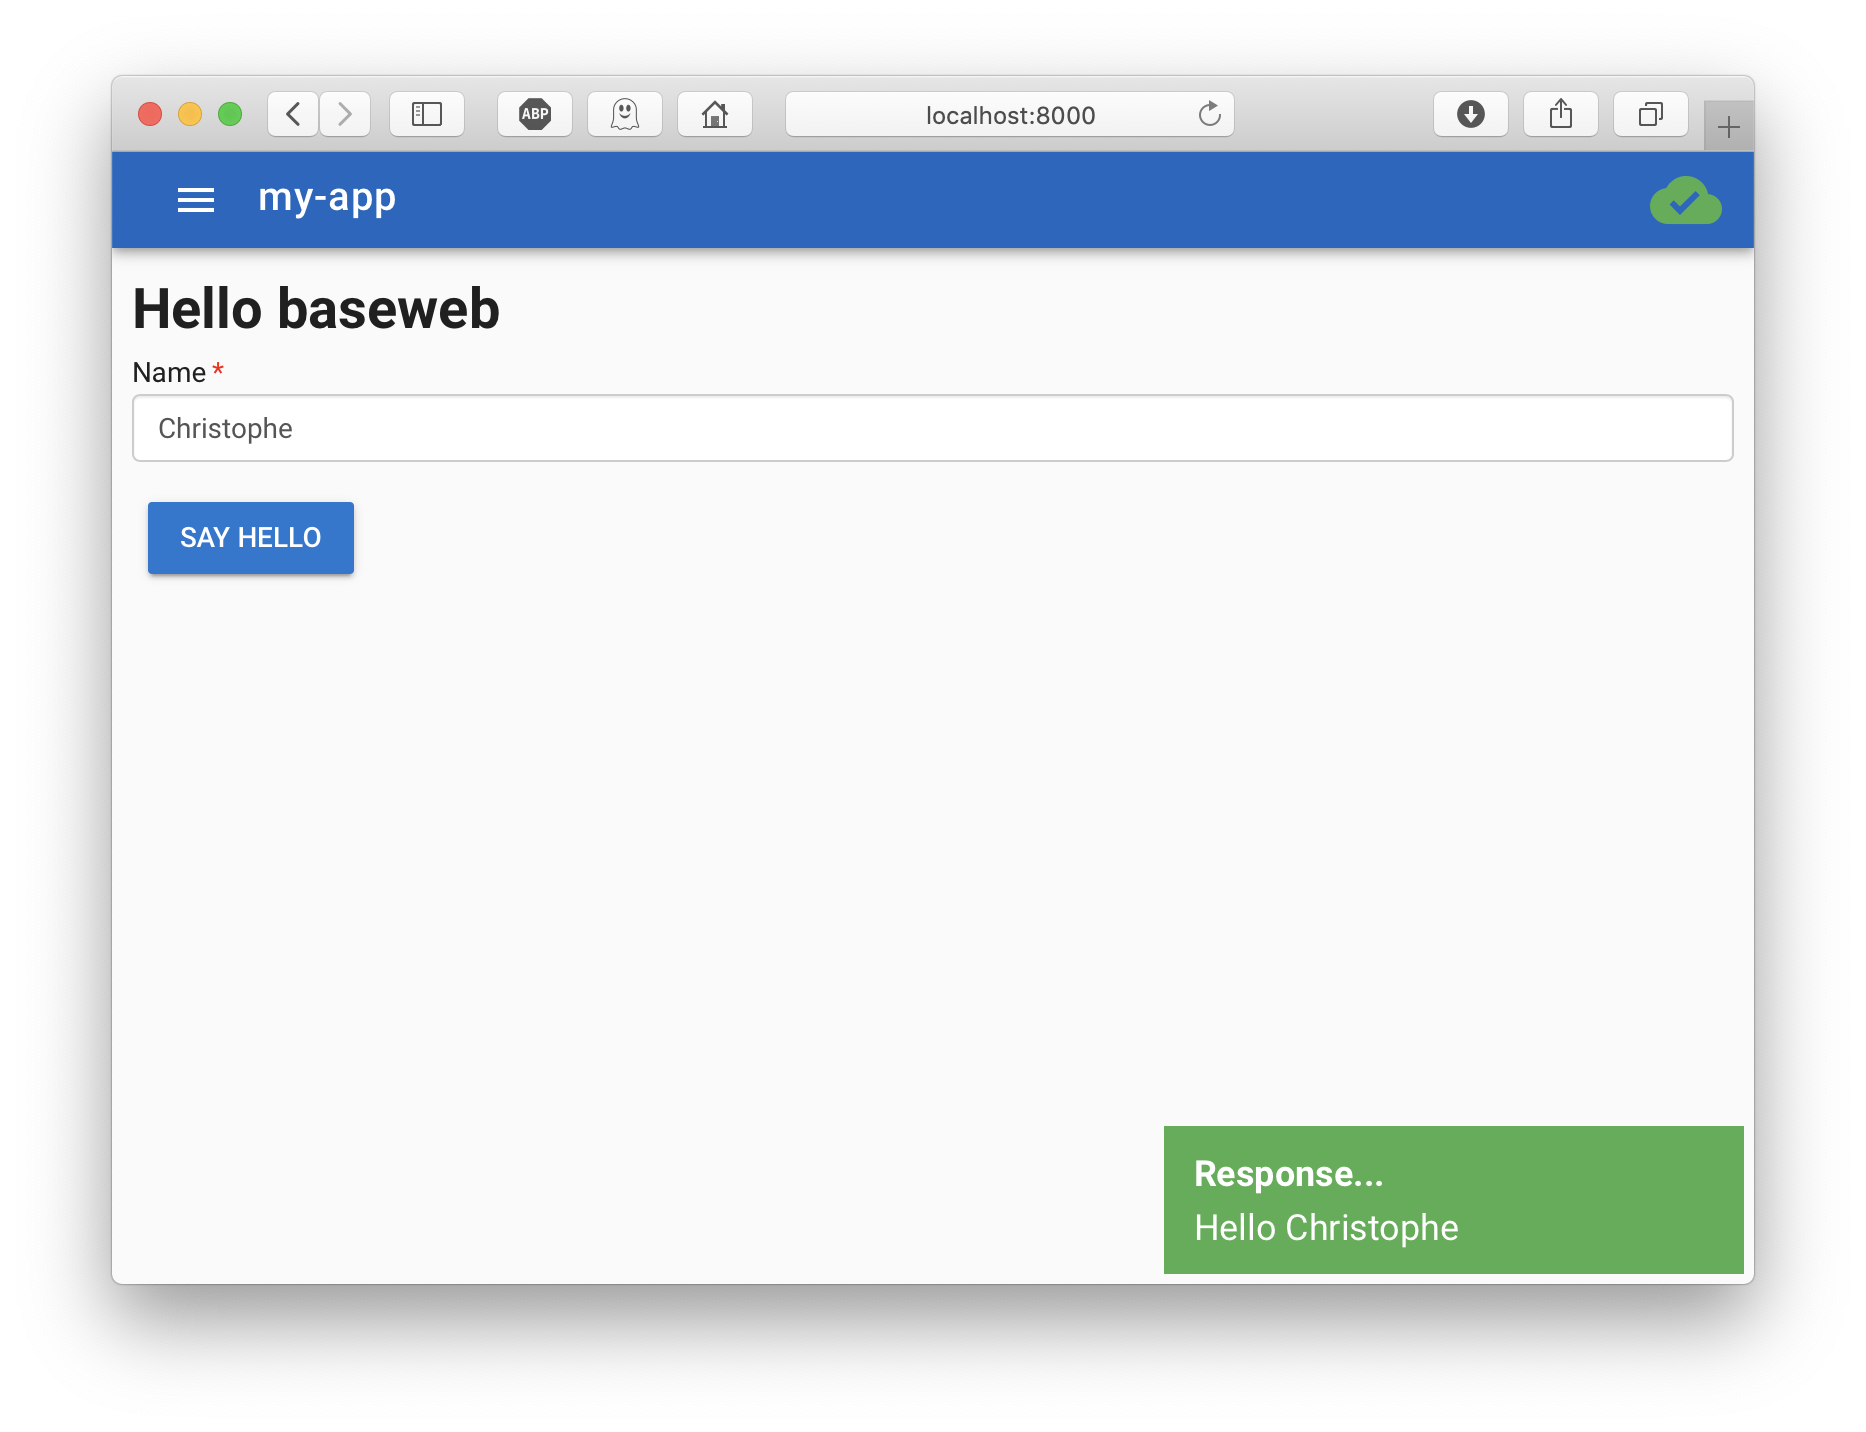
And there you have it, your first baseweb app: 66 lines of code provide you with a modern UI experience, generated forms, basic IO,…
And There is More Where That Came From…
Replacing/adding post behaviour is rather straightforward given the get behaviour example.
Besides the more classic IO, baseweb also includes ready-to-use Socket.IO. Add the following snippets to your code files to see it in action:
# set up socketio event handlers to handle hello events from the UI

from baseweb import server

@server.socketio.on("hello")
async def on_hello(sid, name):
  return f"Hello {name} from socketio!"
  // in your component's HTML template
  template : `
    ...
    <v-btn @click="send_socketio()" class="primary">say hello socket</v-btn>
  `

  // next to send_get
  send_socketio: function() {
    socket.emit("hello", this.model.name, function(response) {
      app.$notify({
        group: "notifications",
        title: "Response...",
        text:  response,
        type:  "success",
        duration: 10000
      });
    });
At the End of This Tour…
… you are ready to take a look at the baseweb demo app, and see that, given some additional nuts and bolts, you basically have compiled the entire demo app yourself.
Make sure to look into adding security in the mix and watch this documentation for more examples in the future or consider contributing in any way.